.svg)
.svg)
PRODUCTS
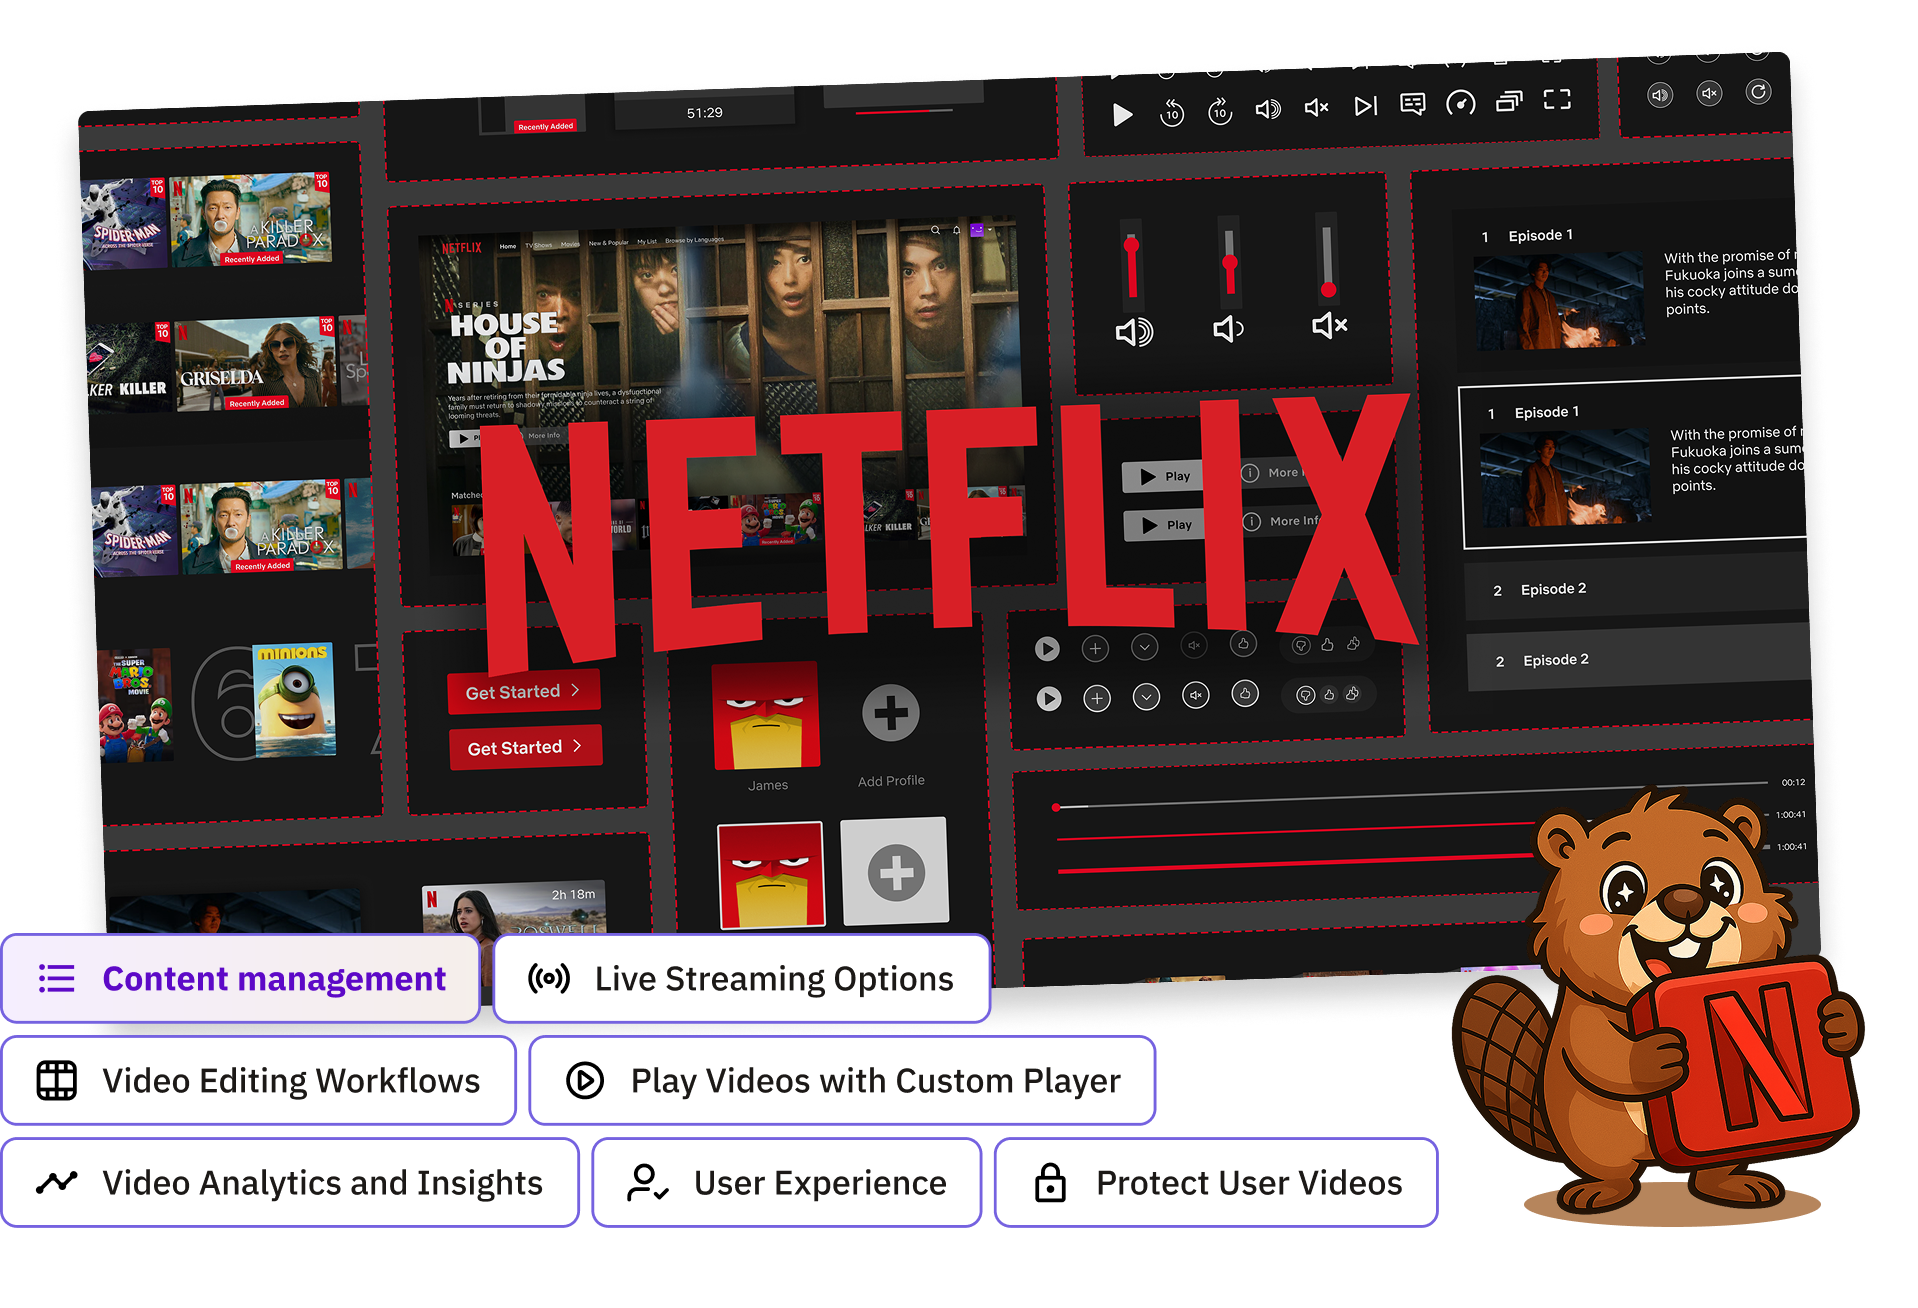
Have you ever thought about building your own OTT platform, like a custom Netflix for your content? Whether you’re streaming movies, fitness classes, or educational videos, an OTT platform gives you full control across web, mobile, and smart TVs.
Instead of depending on third-party social platforms, you can connect directly with your audience and deliver content the way you want. When building a streaming platform, you have two paths. You could build everything from scratch, handling video processing, storage, delivery networks, and player development. This takes significant time, money, and engineering resources.
Or you could use a video API platform like FastPix that handles the complex video infrastructure. This means faster launch time, lower development costs, and less technical complexity. Plus, all FastPix components work together seamlessly, no need to stitch together different services.
An OTT platform, or over-the-top platform, delivers video, audio, and other media directly to users over the internet. Unlike traditional cable or satellite TV, these platforms let you manage and distribute content without relying on broadcasters. Some popular examples are Netflix, Hulu, Amazon Prime Video, and Max.
OTT apps offer a simple way for schools, churches, businesses, and local governments to share content like sermons, classes, and community updates. They help connect with audiences wherever they are, making it easy to deliver media directly and flexibly.
You can read our blog for more insights on how OTT apps can benefit your organization.
Here’s a look at what our platform will provide:
Building an OTT platform gives you two paths forward. Our Media Studio platform offers a pre-built solution, ideal if you want to launch quickly with standard streaming features. Companies like Rocketlane and Practice By Numbers already use it for their video platforms.
That said, if want to build it yourself, FastPix's video APIs enable you to build a custom streaming platform from the ground up. Start by getting your API credentials, you'll need a token key pair, an Access Token ID and a Secret Key.
Check out this setup guide to get your tokens. These tokens will be used to authenticate API requests your app makes to FastPix. In the setup guide, you'll find instructions on how to manage access tokens, set permissions, and different authentication methods. Once that's sorted, you can start handling video streaming.
.png)
Watching content is the heart of an OTT platform, but handling these uploads needs smart design. You can easily hit upload limits when you try uploading videos with effects and high-quality footage.
Breaking uploads into small pieces solves several problems at once. Your users or publishers can post videos reliably even on shaky connections, and their devices won't freeze up during the process. This chunked approach also lets you implement features like upload progress bars and pause/resume.
To simplify the process, we recommend uploading videos in chunks. This approach minimizes the risk of network disruptions and helps prevent connection problems.
Our resumable upload SDK makes video uploads smooth and reliable for you. Our SDK handles the complex parts of getting videos pushed to your platform.
When you record or upload videos, the SDK splits them into small pieces. If their connection drops while posting, which is common on mobile networks, they won't lose progress. The upload just pauses and picks up where it left off.
1npm install @fastpix/uploader
You can install the SDK by executing this command in your terminal:
After installation, you can bring the upload component into your application by executing the following command in your terminal:
1import { Uploader } from "@fastpix/uploader";
2
3const uploader = Uploader.init({
4    endpoint: 'https://example.com/signed-url', // Replace with the signed URL.
5    file: mediaFile, // Provide the media file you want to upload.
6    chunkSize: 5120, // Specify the chunk size in kilobytes (KB). Minimum allowed chunk size is 5120KB (5MB).
7    // Additional optional parameters can be specified here as needed
8});
Let's add video uploads to your app. First, create an endpoint that checks if videos meet your platform's rules, like max length and supported formats. Next, integrate the FastPix Web Uploads SDK into your application, making sure it is correctly installed and set up.
When you upload a video, FastPix assigns it a unique ID that can be used to manage that content. FastPix works with major cloud storage providers, so you can keep your videos in AWS S3, Google Cloud Storage, or Azure and pull those videos using our create media from URL endpoint.
Videos saved with FastPix are referred to as media. To upload your first media, simply send a POST request to the /on-demand endpoint with the URL of a video file that can be shared publicly.
For additional information on uploading videos, check out this guide. Users can also upload videos straight from their device’s storage. To upload a video from device, follow this guide: Upload media from device.
Some services, like Netflix, need a secure way for content creators to upload large video files. Instead of building complex upload systems, you can use signed URLs. These are temporary, secure links, and point directly to your storage bucket.
When a creator needs to upload content, your platform generates a signed URL using your storage credentials that's valid for a limited time (say, 24 hours). The backend passes it to the creator's upload form, and they send the file to your storage.
FastPix simplifies this with a single API call, it generates the URL, handles the upload security, and starts processing the video automatically. We have a guide with helpful tips on playback tokens, thumbnail tokens, and sprite sheet tokens that you can explore here.
Tagging and categorizing videos makes it easier for users to find content. You can add a feature that lets users search for videos using key-value pairs, like "key": "value." This tagging system can be used in future API calls. Additionally, use dynamic metadata to create keys that can hold any value pair, simplifying media tracking and management.
Users can add tags like #mystery or #thriller when posting, and categories like "Action" or "Biopic" to group similar content.
1{
2  "title": "The Forgotten Dawn",
3  "genre": "Drama",
4  "language": "en",
5  "year": 2023,
6  "tags": ["psychological", "thriller", "award-winning"]
7}
You can define up to 10 custom fields per asset. Internally, this metadata powers:
You can use webhooks to tracks events like: video.media.created and video.media.ready. It uses the passthrough ID to find the related Post and updates its status to either created or ready. This status helps the client know which videos are ready to show in the feed.
You can monitor each step of your users' video uploads through webhooks. When someone uploads a new video, FastPix sends updates to your app about the processing status, so you can display the correct progress in your interface.
Once FastPix finishes processing a video, your app gets notified instantly. This means you can show the video in feeds and profiles right when it's ready to watch.
You can keep your platform safe by spotting harmful videos before they reach user’s feeds. Our NSFW filters scan each upload for issues ranging from graphic imagery to unsafe behavior.
Related guide: Moderate NSFW & Profanity
When we tested this system on a sample video, it caught concerning content immediately. The clip scored 0.94 for violence, 0.85 for graphic content, and 0.49 for self-harm signals (different), which then triggered automatic review flags.
To enable the NSFW filter for a video, send a PATCH request to the video’s mediaId. Include the moderation parameter and set it to true. The request will look like this:
PATCH /on-demand/<mediaId>/moderation
For more tips on managing your content, check out our blog on using AI for NSFW and profanity filters.
To start a live stream on FastPix, just send a POST request to the /streams endpoint with their access token. This request returns a Playback ID and a Stream Key.
Response details:
FastPix uses RTMP and SRT for live streaming. Users need any compatible software to broadcast. Streamers can go live using broadcasting software like OBS by plugging in their stream key. Viewers watch through this URL:
1https://stream.fastpix.io/{PLAYBACK_ID}.m3u8To end a stream, you just disconnect from your streaming software. The stream will show as idle after a short period or automatically after 12 hours. If you need longer streams, just let us know.
You can control every part of your live streams with simple API calls. Create new streams, check which one’s currently live, or update stream settings with basic HTTP requests.
For more information on managing live streams, visit the live streaming API reference here.
You can save streams in two ways to keep content available after broadcasts end. Use instant replay during active streams so viewers can rewind and catch moments they missed. Perfect for quick challenges or tutorial streams where viewers might want to watch the stream again.
This is called the DVR (Digital Video Recorder) mode, it’s a feature that allows viewers to pause, rewind, and replay parts of a live stream while it is still ongoing. For more information about DVR mode, take a look at the documentation here.
For longer content like gaming streams or live events, automatic background recording works better. The platform saves the full broadcast while your creator streams. When they finish, the recording appears in their profile ready for fans who missed the live.
Each recorded stream gets its own ID for sharing or embedding in other parts of your app. You can add these recordings into your main feed to boost engagement after the live ends.
Sometimes creators can't stream in real-time. They can upload videos to be broadcast later as if they were live content. This works great for planned events, announcements, or when internet connections might be shaky.
When broadcast time hits, your platform plays the video as a live stream. Viewers get the same live experience, with comments, reactions, and shares should all work normally.
Setting up a scheduled broadcast takes just a few steps:
You can follow this guide to learn how to stream pre-recorded content as live.
You can make video editing simple. Most creators aren't professional editors, they just want to make their videos look good quickly.
The editing interface should feel natural on phones. You can add trimming with finger gestures, filters with single taps, and text with a clear keyboard overlay. Each action should give instant visual feedback so users know exactly what their final video will look like.
By handling the complex editing work through APIs in the background, creators focus on making content, not learning complicated tools. You can add features to split long takes into perfect clips, merge multiple videos for transitions, etc.
To enable users to create clips from their uploaded videos, follow these steps:
fp_media:// to the media ID in the URL parameter of your payload to enable the clipping feature. startTime and endTime for the clip. If these parameters are not included, the entire original video will be used by default. After the clip is generated, the API will return a new media ID and playback ID for the clipped segment.
Your request body should look like this:
POST https://api.fastpix.io/v1/on-demand
1{
2  "inputs": [
3    {
4      "type": "video",
5      "url": "fp_media://0dde8722-278b-49e2-b0c8-52b57aaf2843",
6      "startTime": 0,
7      "endTime": 60
8    }
9  ],
10  "metadata":
11  {
12    "key1": "value1"
13  },
14  "accessPolicy":"public",
15  "maxResolution":"1080p"
16}
If users want to remove mistakes, interruptions, or anything irrelevant from their videos, trimming is the perfect solution. You can follow our simple guide here to easily cut out those unwanted parts.
To generate thumbnails for uploaded videos, simply make a GET request to the following URL, replacing {PLAYBACK_ID} with the video's playback ID:
https://images.fastpix.io/{PLAYBACK_ID}/thumbnail.{png|jpg|webp}
You can choose from JPG, PNG, and WEBP formats for your thumbnails, but we recommend using WEBP. It offers a nice balance between quality and loading speed, making it a great choice for video-sharing platforms.
Users can also customize their thumbnails by adjusting the width and height, and even flipping them horizontally or vertically. For more details on how to use these options, check out our guide on extracting thumbnails from videos.
If you’d like to learn more about using these options, take a look at our guide on extracting thumbnails from videos.
With FastPix’s Create Media from URL feature, you can add an audio track to your video with custom start and end times, plus smooth fade-in and fade-out effects. Here’s how to do it:
First, make sure your audio file is the right quality and length for the part of the video you want to add audio to. Save it to a URL that you can easily access.
Then, set up your request, use the API with a JSON format:
Once your request is ready, send it through the FastPix API. The API will take care of adding the audio overlay just the way you specified.
For a detailed guide, check out the documentation on overlaying audio at specific timelines in your video.
FastPix makes it simple to turn videos into GIFs, which can add some fun and shareable content to your app. GIFs are perfect for social media and messaging, making your platform lively. Here’s a quick guide on how to create GIFs from videos.
To make a GIF, just send an API request to FastPix with the video’s playback ID and the start and end times for the clip you want. You can also pick the output format (GIF or WEBP) and set the size.
https://image.fastpix.io/{PLAYBACK_ID}clip.{gif | webp}
You can customize it just the way you want, choose the start and end times on the video timeline, along with the height, width (in pixels), and frames per second (fps) for the GIF.
With FastPix, the videos you upload can be played on any video player you choose, whether it’s Shaka Player, HLS Player, Exo Player for Android, or AV Player for iOS. This means you have the freedom to pick the player that works best for you.
If you’re looking for an easy option, check out the FastPix Video Player. It’s designed to automatically adjust the video quality based on the viewer's internet speed, thanks to adaptive bitrate streaming (ABR).
FastPix Player comes with handy features like built-in video data and analytics, and it automatically converts your videos for different devices, creating the right format for each one. Our player works across platforms, so your videos will play smoothly on the web, Android, iOS, and more, no extra work needed!
To get started, just run this command in your terminal to install the Video Player SDK:
1npm install @fastpix/player
After that, you can easily import the player component into your application like this:
1import "fastpix-player";
Most video players today have basic controls like play, pause, volume, and fullscreen options. But with FastPix Player, you get a fully customizable experience that works seamlessly across platforms.
We really care about accessibility, so our player includes features like keyboard navigation, closed captions and much more. This makes it easy for everyone to use.
For a smooth setup, be sure to check out the FastPix Player documentation. It’s a great resource to help you get started.
Loop playback
The loop feature lets videos play over and over. When a video finishes, it starts again automatically. This is perfect for things like animations, ads, or background videos. If you're building an app for immersive content like Netflix, this feature is a must-have.
Example to enable loop:
1<fp-player
2  playback-id=`{Playback_id}`
3  loop
4></fp-player>
The muted option plays videos without sound, which is great for silent introductions or background use. It makes things better when you don’t need audio, like for teasers or in public places.
Example to enable muted playback:
1<fp-player
2  playback-id=`{Playback_id}`
3  muted
4></fp-player>
With the autoplay feature, videos start playing without sound. Viewers can unmute or change the volume whenever they want. This way, videos play right away without sound, which can help save mobile data.
Example to enable autoplay:
1<fp-player
2  playback-id=`{Playback_id}`
3  auto-play
4></fp-player>
If you want to add your videos to a website, blog, or content management system (CMS), just take the iframe embed code for your media. This code lets you place the video player right on your page, and you can customize playback options like autoplay, muted sound, or looping.
All you need to do is paste the iframe code into your HTML file, and your video will be good to go. You can also tweak settings like the aspect ratio or even hide the controls for a sleeker look.
1<iframe src="https://play.fastpix.io/?playbackId=<playback-id>&autoplay=true&muted=true&loop=true&hide-controls=true&enableVideoClick=true&aspect-ratio=21/9" width="1920" height="1080"></iframe>
To make sure your users’ videos look great on mobile, it’s important to set the right aspect ratio. For platforms like Netflix and Prime Video, the ideal ratio is 9:16 (it’s not actually 9:16, conflicting info). This vertical format fills the screen perfectly and keeps your content looking sharp.
By default, the aspect ratio for the FastPix player component is set to 16:9, which is intended for widescreen videos. But you can change it to fit your needs. Changing the aspect ratio avoids stretching or cropping, so your videos look just the way you want them to.
You can use the player component’s --aspect-ratio variable to set it to 9/16 for vertical videos, by modifying the CSS component. Here’s how you can do it:
1fp-player {
2  --aspect-ratio: 9/16;
3}
Netflix doesn’t just stream videos - they obsessively measure every second of playback. Why? Because understanding how users interact with your content is key to improving engagement, minimizing churn, and uncovering what actually works.
Whether you’re optimizing streaming quality, running A/B tests on trailers, or analyzing completion rates, FastPix Video Data gives you the visibility you need. You can track everything from viewer drop-off to buffering spikes - across all devices, in real time.
Understanding your video performance is key for any online platform, but many creators find it tough to make sense of complex analytics. FastPix Video Data simplifies this process by breaking down data across more than 50 dimensions, including device type, geographic location, playback method, and time intervals.
The FastPix Video Data SDK makes it straightforward to monitor these key video metrics. The SDK is compatible with players like Shaka Player, HLS.js, Exo Player (Android), AV Player (iOS), and FastPix Player.
.webp)
With FastPix Data, you get a clear picture of your audience reach through unique views. Instead of inflated numbers from repeat viewers, you’ll know exactly how many different people are tuning in to your sermons.
FastPix makes it easy to understand these metrics. If you see that followers from certain areas are watching your streams all the way through while others drop off early, you can adjust your content strategy to connect better with your audience.
OTT platforms can use these metrics to optimize programming, refine content formats, and improve marketing strategies to better connect with their target audience.
For more details, check out our guide on audience metrics.

To evaluate video performance, look beyond just view counts, as those numbers only tell part of the story. Here are some key metrics to consider:
In video streaming, video playing time is important too. A high playing time indicates that your audience isn’t just clicking on your videos; they’re genuinely invested in watching them.
%20(1).png)
Quality of Experience (QoE) metrics help you see how your videos are doing from the viewer's point of view. These metrics focus on the overall experience people have while watching your content. Here are some key QoE metrics to keep in mind:
Aim to make your platform easy for users to move between creating and watching content. Position important features like playback controls, sharing options and content recommendations where they can easily reach them on their phones.
For viewers, keep scrolling and loading between videos fast. Let them easily swipe through different content categories, follow genres, and switch between their personal feed and trending content without any fuss.
FastPix allows you to save videos in clear 1080p MP4 format. If you wants to remix your video or share it on other platforms, you can easily download the original high-quality version with just one tap.
Our MP4 downloads keep the video quality intact, making it great for creators who want to edit their content or create compilation videos from previous uploads. FastPix takes care of all the format conversion, so you just tap download and have the video ready to go.
For step-by-step instructions on how to enable MP4 downloads, take a look at our guide here: MP4 support for offline viewing.
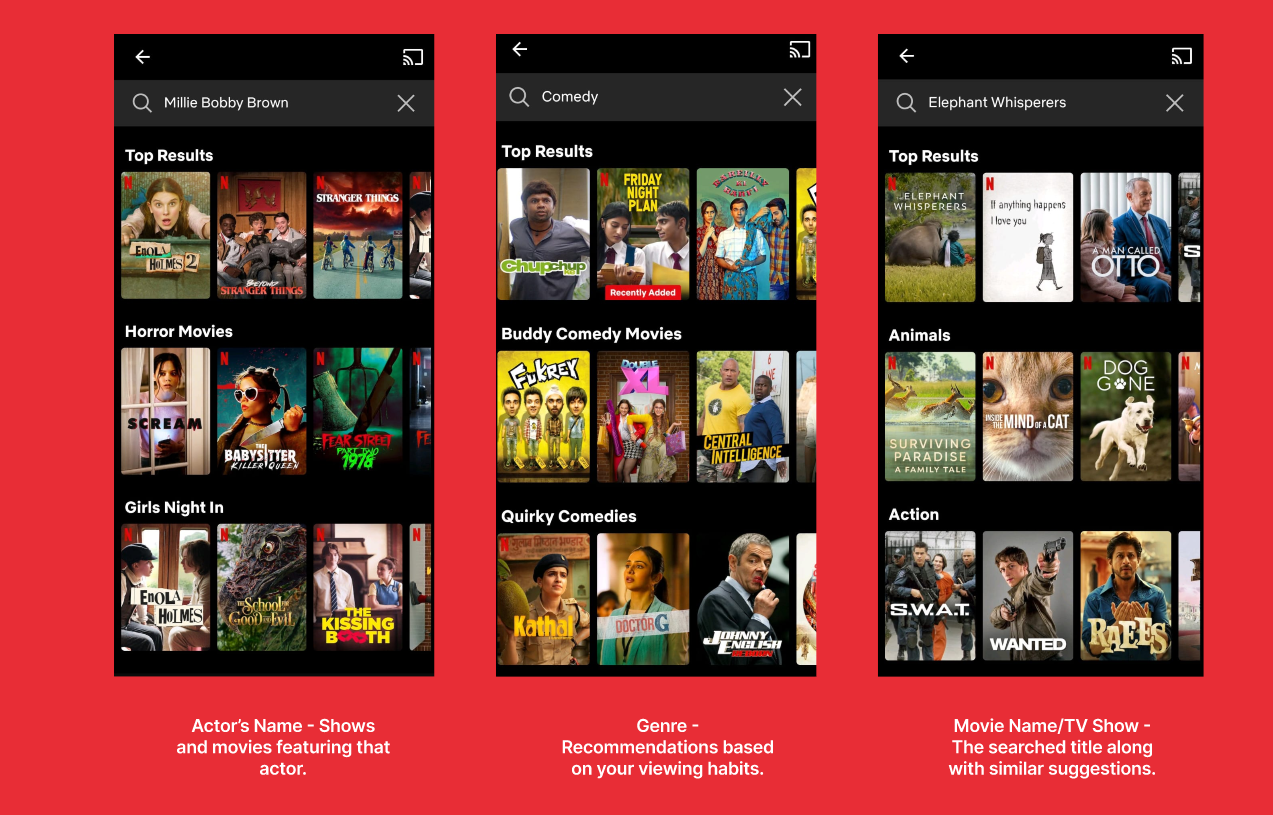
If you’re looking to create a recommendation system for your video platform, start by organizing your video metadata, like tags, titles, and descriptions. You can use keywords from these to identify similar videos.
Next, consider user behavior, what they watch, like, and share, to help refine your suggestions. Aim for a balance between showing similar videos based on tags and connecting users with content they’re likely to enjoy based on their past activity. Keeping it simple with categories like “Suggested for You” or “Trending” can help keep viewers engaged.
To protect your content, make sure you have strong security measures in place. This way, users can feel comfortable accessing the content on your platform.
Adding DRM can help protect copyrighted material and reassure publishers that their work is secure.
To control who can access your videos, you can change the accessPolicy parameter. Setting it to "drm" enables DRM, which helps prevent unauthorized use of your content. If you prefer a simpler option, you can set the access policy to "private" to limit access without the added complexity of DRM.
Here’s how to set the access policy for DRM:
"accessPolicy": "drm"
And for private access:
"accessPolicy": "private"
You can choose between public, private, or drm based on what you need.
Related guide: Secure playback with DRM
Setting up age restrictions and content warnings is important for keeping your OTT platform safe, especially for younger users. It helps ensure they don’t come across inappropriate content.
To add age restrictions and content warnings, you can use metadata tags with simple key-value pairs in your content management system. For example:
"ageRestricted": true or "ageRestricted": false "sensitiveMaterial": true or "sensitiveMaterial": false This way, you can easily control what users see based on their age and the content type. It shows that you care about user safety and helps create a better experience for everyone.
For instance, YouTube has a toggle for creators to set age restrictions on their videos.
Netflix isn't just streaming video - it's understanding it. From dynamic thumbnails to smart skip-intros, in-video AI enhances every second of user experience. FastPix brings that intelligence to your OTT platform with APIs for:
Chapters let viewers navigate complex content—jumping to scenes, topics, or highlights. FastPix can auto-generate chapters by analyzing content structure, silence gaps, speaker shifts, or semantic boundaries.
To generate chapters for a media file:
1curl --request PATCH \
2     --url https://v1.fastpix.io/on-demand/4fa85f64-5717-4562-b3fc-2c963f66afa6/chapters \
3     --header 'accept: application/json' \
4     --header 'content-type: application/json' \
5     --data '{"chapters":true}'
This triggers AI analysis. Once done, chapters will be returned in structured format:
1"chapters": [
2    {
3      "chapter": "1",
4      "startTime": "00:00:00",
5      "endTime": "00:00:40",
6      "title": "Gathering the Team",
7      "summary": "The team discusses their strategy against the impending threat."
8    },
9    {
10      "chapter": "2",
11      "startTime": "00:00:40",
12      "endTime": "00:01:20",
13      "title": "Facing Loki",
14      "summary": "Thor and the team prepare to confront Loki and his forces."
15    },
16]
You can render these in the FastPix Player or your own custom UI with seek links or timeline markers.
For long-form content, a summary helps users preview the story, decide what to watch, or navigate key plot points. FastPix’s video-to-text summarization generates concise, readable summaries based on audio transcripts and visual cues.
To trigger summarization:
1curl --request PATCH \
2     --url https://v1.fastpix.io/on-demand/mediaId/summary \
3     --header 'accept: application/json' \
4     --header 'content-type: application/json' \
5     --data '
6{
7  "generate": true,
8  "summaryLength": 100
9}
10'
The response will return a short paragraph-style summary:
1{
2  "summary": "A young astronaut is stranded on a distant planet and must survive against the odds while uncovering a hidden conspiracy back on Earth."
3}
FastPix can scan videos and extract semantic tags—identifying themes, keywords, genres, and entities like actors or locations.
1curl --request PATCH \
2     --url https://v1.fastpix.io/on-demand/mediaId/named-entities \
3     --header 'accept: application/json' \
4     --header 'content-type: application/json' \
5     --data '
6{
7  "namedEntities": true
8}
9'
Example response:
1{
2  "entityCount": 6,
3  "namedEntities": [
4    {
5      "entity": "Thor",
6      "category": "Person"
7    },
8    {
9      "entity": "Loki",
10      "category": "Person"
11    },
12    {
13      "entity": "Stark",
14      "category": "Person"
15    },
16
17}
This makes your content library searchable, filterable, and personalized - without manual tagging.
FastPix provides a reliable video infrastructure that helps developer teams quickly integrate video into their products on a global scale. By choosing FastPix, you can meet your customers' needs without adding unnecessary complexity for your development team.
With FastPix, you get video infrastructure that is:
We provide video solutions customized for any operating system, platform, and device. Want to add video to your product? You can get started today. We’d love to hear your thoughts on our features. Let us know how they work for you by sending us a message!
Yes, you can monetize your OTT platform in multiple ways. Popular models include subscription-based services (SVOD), ad-supported content (AVOD), pay-per-view options, and hybrid models. You can also offer premium content bundles or exclusive features to drive additional revenue. Choosing the right monetization strategy depends on your audience, content type, and business goals.
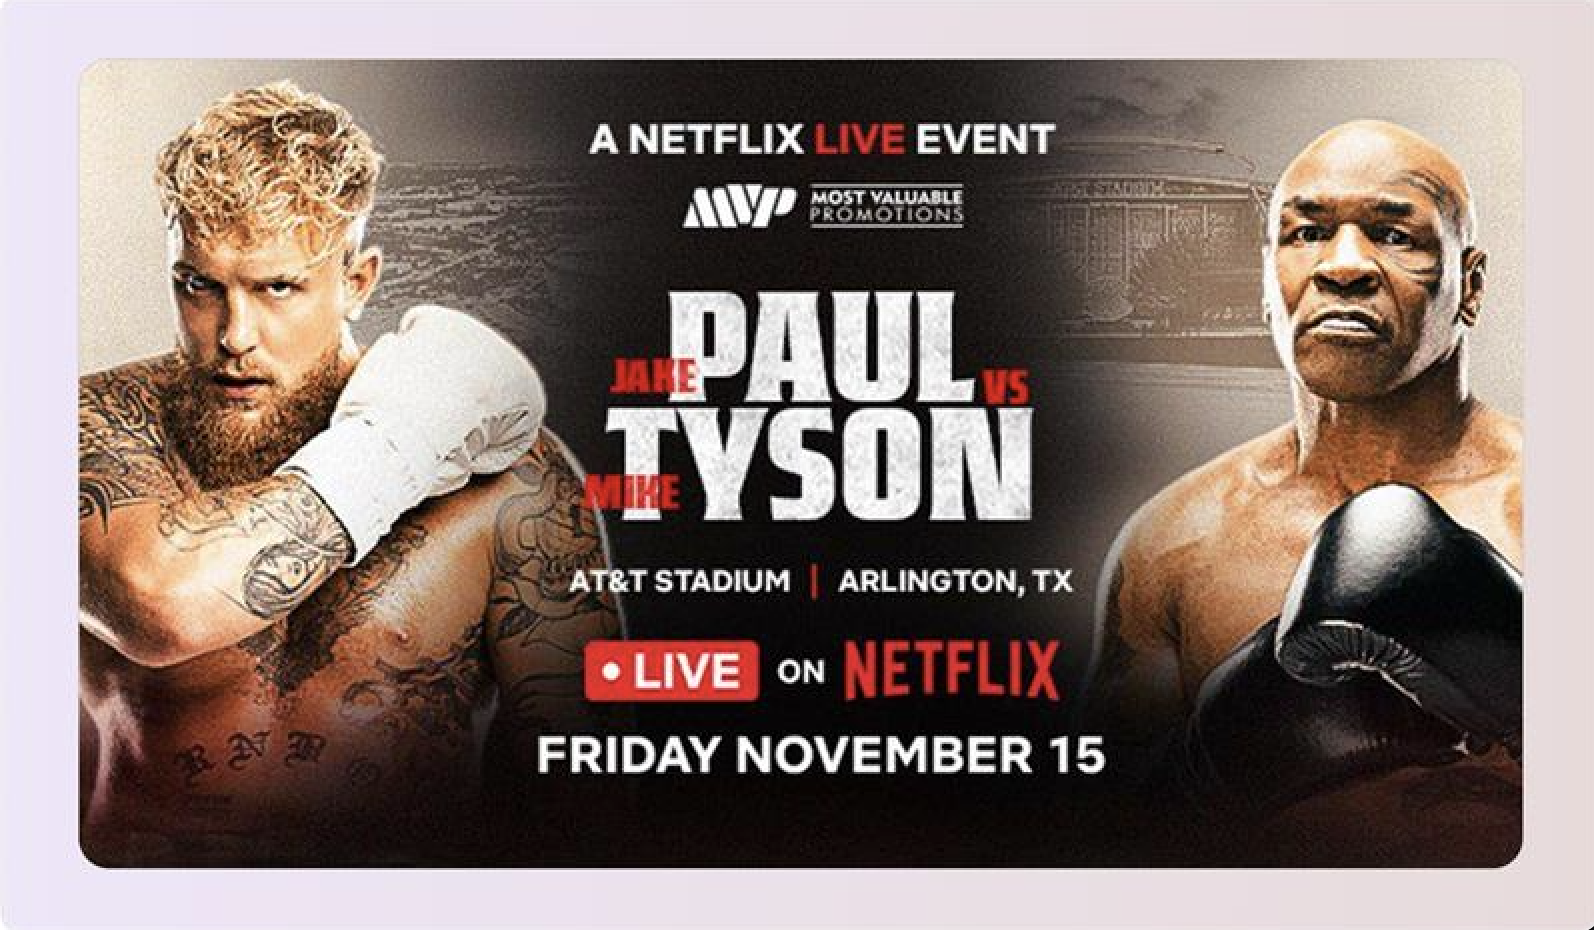
To stream live events, you’ll need a reliable live streaming solution integrated into your OTT platform. This involves setting up an encoder, a content delivery network (CDN), and a media server for seamless delivery. You’ll also need to ensure low-latency streaming, adaptive bitrate settings, and compatibility with multiple devices. Many platforms also incorporate chat features or real-time interaction tools to engage viewers during live streams.
To secure your OTT platform, implement measures like DRM to prevent unauthorized access or downloads of your content. Use HTTPS protocols to protect data transmissions and ensure user privacy. Deploy firewalls and regular software updates to guard against cyberattacks. Additionally, multi-factor authentication and secure payment gateways help protect user accounts and financial transactions.


.avif)

.png)